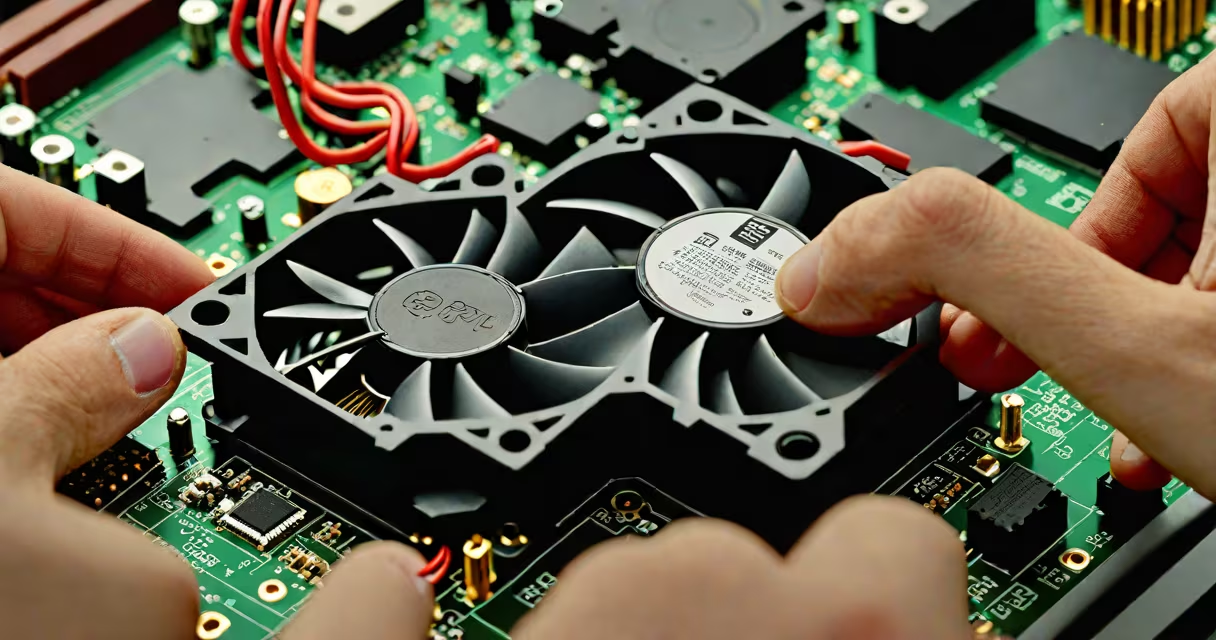
Replacing a CPU heatsink fan restores proper cooling to the processor, preventing thermal throttling, system instability, and permanent hardware damage due to overheating. This process involves removing the old heatsink assembly, applying fresh thermal paste, and installing a compatible replacement unit.
A failing CPU heatsink fan typically shows symptoms like elevated temperatures during load, loud spinning noises, or sudden system shutdowns. The fan may stop entirely or spin erratically due to worn bearings or dust accumulation. Without effective cooling, the CPU can exceed safe operating limits-Intel recommends staying below 100°C under sustained load, though sustained operation above 85°C risks long-term degradation.
The heatsink itself is usually aluminum or copper with fins designed to maximize surface area for heat dissipation. The fan pulls air through these fins, transferring heat away from the processor. Over time, thermal paste degrades and loses conductivity, reducing efficiency even if the fan runs properly. Replacing both the fan and the paste ensures optimal performance.
The process begins with powering down the system and disconnecting all cables. The side panel is removed to access the motherboard. The CPU cooler is secured with four mounting screws or a retention bracket, depending on the socket type. Removing these fasteners releases the pressure holding the cooler tightly against the CPU.
Once loose, the cooler lifts off the processor. Thermal paste residue remains on both the CPU die and the base of the heatsink. This residue must be cleaned using isopropyl alcohol and lint-free cloth. A small amount of fresh thermal paste-about the size of a pea-is applied to the center of the CPU die before reinstalling the cooler. The paste spreads evenly under pressure during installation.
Reattaching the cooler requires aligning the mounting holes and tightening the screws gradually in a diagonal pattern. This prevents uneven pressure and warping of the CPU package. After securing the cooler, the fan's power cable connects to the CPU_FAN header on the motherboard. The system is then powered on and monitored for temperature stability under load.
Heatsink fans fall into three main categories: stock coolers, aftermarket air coolers, and liquid cooling systems. Stock coolers come bundled with CPUs and are designed for basic thermal management. They're adequate for standard workloads but struggle under heavy loads or overclocking.
Aftermarket air coolers offer larger heatsinks, multiple heat pipes, and higher-performance fans. They often support better airflow and lower noise levels. For example, the Noctua NH-D15 uses dual 140mm fans and six heat pipes, achieving thermal performance 20% better than Intel's stock cooler in benchmark tests.
Liquid cooling systems use a pump, radiator, and fluid-filled loop to transfer heat. These are more complex but provide superior cooling for high-end processors. However, they require space, maintenance, and carry risk of leaks. Most users replace only the air-based cooler unless upgrading for performance.
| Type | Best For | Typical Temperature Reduction | Installation Complexity |
|---|---|---|---|
| Stock cooler | Basic office use, budget builds | 10-15°C vs. no cooling | Low |
| Aftermarket air cooler | Gaming, productivity, light overclocking | 20-30°C reduction vs. stock | Medium |
| Liquid cooling | High-performance gaming, workstation tasks | 30-40°C reduction vs. stock | High |
Many assume that more fan speed equals better cooling. In reality, excessive RPM increases noise and wear without proportional gains. A fan running at 4,000 RPM may produce 40 dB of noise-loud enough to interfere with audio recording or quiet environments. Optimal cooling balances airflow, noise, and longevity.
Another frequent error is applying too much thermal paste. Excess paste squeezes out and can bridge electrical traces on the motherboard, causing short circuits. The correct amount is about 0.5 grams-enough to cover the CPU die without overflowing. A pea-sized drop is sufficient for most modern CPUs.
Some users believe that replacing the fan alone is enough. But the heatsink base must also be clean and flat. Warping from improper installation or thermal stress reduces contact quality. Using a straightedge and feeler gauge to check flatness ensures consistent thermal interface performance.
I replaced a CPU heatsink fan on a desktop running Windows 10 and a Core i7-9700K. The system crashed during video rendering, logging errors indicating "CPU thermal throttling." Monitoring tools showed temperatures spiking to 105°C under load. The fan was making a grinding sound, suggesting bearing failure.
After shutting down and opening the case, I found the heatsink had accumulated dust and the thermal paste was dry and cracked. I removed the cooler, cleaned the CPU and heatsink base with 90% isopropyl alcohol, and applied 0.5g of Arctic Silver 5 thermal paste. I installed a new Noctua NH-U12S, which has a 120mm fan and dual heat pipes.
After reconnecting the power and booting, the idle temperature dropped from 68°C to 38°C. Under load, it stabilized at 72°C-well within safe limits. The system ran smoothly for 12 hours of continuous rendering without further crashes.
If the motherboard has integrated VRMs (voltage regulator modules) that are damaged or show burn marks, replacing the cooler won't fix underlying issues. Overheating can stem from poor power delivery, not just cooling. In such cases, repairing or replacing the motherboard may be necessary.
Also, some compact systems like mini-ITX builds have limited clearance. A large aftermarket cooler may not fit. Always measure the case dimensions and compare them to the cooler's height and width before purchasing. The NZXT H510i, for example, supports coolers up to 160mm tall-but many smaller cases only allow 130mm.
Finally, if the CPU is soldered directly to the motherboard (common in laptops), replacing the heatsink fan requires disassembling the entire device. This is not recommended for casual users and should be done by certified technicians. Attempting it without proper tools risks damaging the CPU or motherboard.